Generating and adding an SSH key for secure authentication involves a few straightforward steps. Here’s a guide to creating an SSH key, adding it to your local SSH agent, and configuring it for authentication with remote servers or services like GitHub, GitLab, etc.
Generate the SSH Key
When prompted to “Enter a file in which to save the key,” provide a custom path within the htdocs folder.

step1: Open Git Bash and run the following:

This command creates a new SSH key, using the provided email as a label.
This saves the private key as project_name_ssh_key and the public key as project_name_ssh_key.pub in the htdocs folder. When prompted to “Enter a passphrase,” type a secure passphrase or press Enter to skip.
Step 2: Add the SSH Key to GitHub or a Server
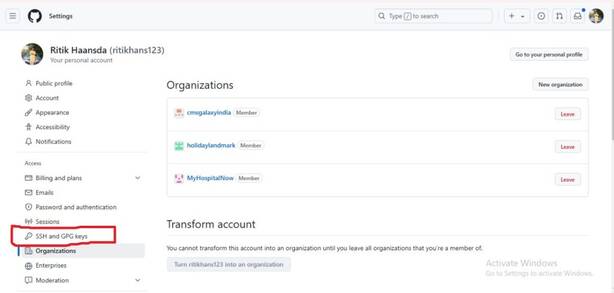
- Log in to GitHub and navigate to Settings > SSH and GPG keys.
- New SSH key, add a Title, paste the public key, and click Add SSH key.
For a Remote Server:
Copy the public key to the remote server’s ~/.ssh/authorized_keys file.
ssh username@server_ipAppend the key:
cat ./project_name_ssh_key.pub | ssh username@server_ip "mkdir -p ~/.ssh && cat >> ~/.ssh/authorized_keys"
Test the SSH Key
Test the connection to GitHub:
ssh -T git@github.com
Test the connection to a remote server:
ssh -i ./project_name_ssh_key username@server_ip
Test the SSH Key
Test the connection to GitHub:
ssh -T git@github.com
Test the connection to a remote server:
ssh -i ./project_name_ssh_key username@server_ip
Configure Git to Use the SSH Key (Optional)
If you’re using Git in the htdocs folder and want it to use the generated SSH key:
Add the key to the SSH agent:
eval "$(ssh-agent -s)"
ssh-add ./project_name_ssh_key
Configure Git to use this SSH key:
git config core.ssh Command “ssh -i ./project_name_ssh_key