What is WSL ?
WSL stands for Windows Subsystem for Linux. It’s a compatibility layer in Windows that enables you to run a Linux distribution directly on a Windows machine, without the need for virtualization or a dual-boot setup.
How to Install and Configure?
Open ubuntu
Steps to install XAMPP on Ubuntu Server:
1. Open Ubuntu on your local
mkdir wizbrand_learningDonwnload Xampp
2. Run the below given command:
wget https://sourceforge.net/projects/xampp/files/XAMPP%20Linux/8.2.4/xampp-linux-x64-8.2.4-0-installer.run
3. Run below code for permission
sudo -s4. Run: below code -> (This will give the executable permission to the installer file that you downloaded in step 2)
chmod 755 xampp-linux-x64-8.2.4-0-installer.run5. Run: below command (This will start the installation)
sudo ./xampp-linux-x64-8.2.4-0-installer.run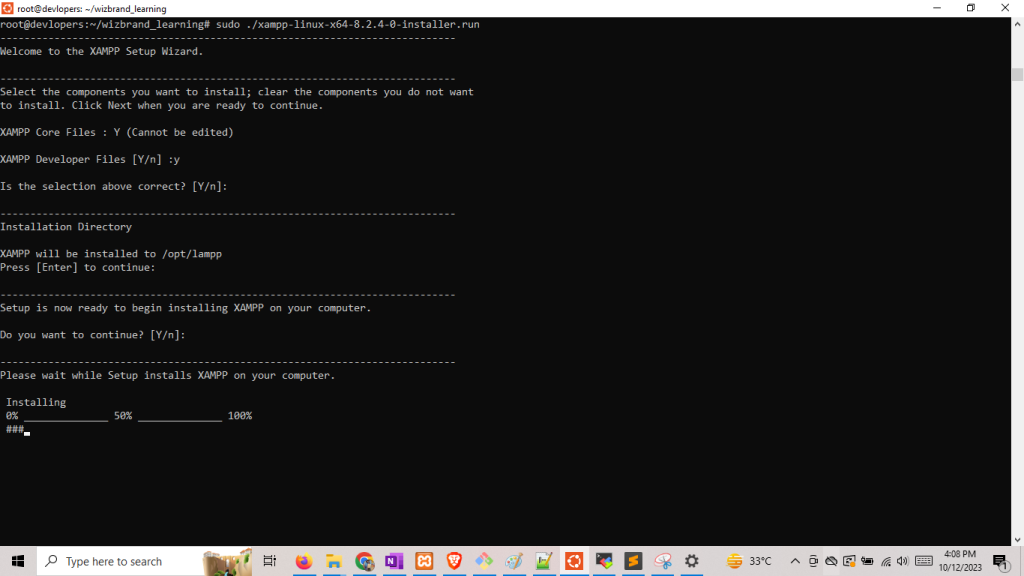
6. Run/ Start XAMPP server
sudo /opt/lampp/lampp start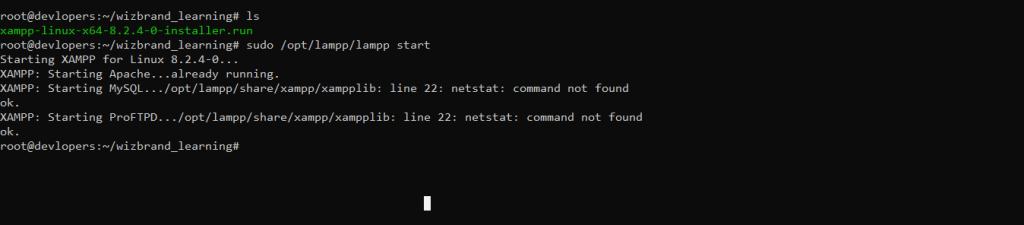
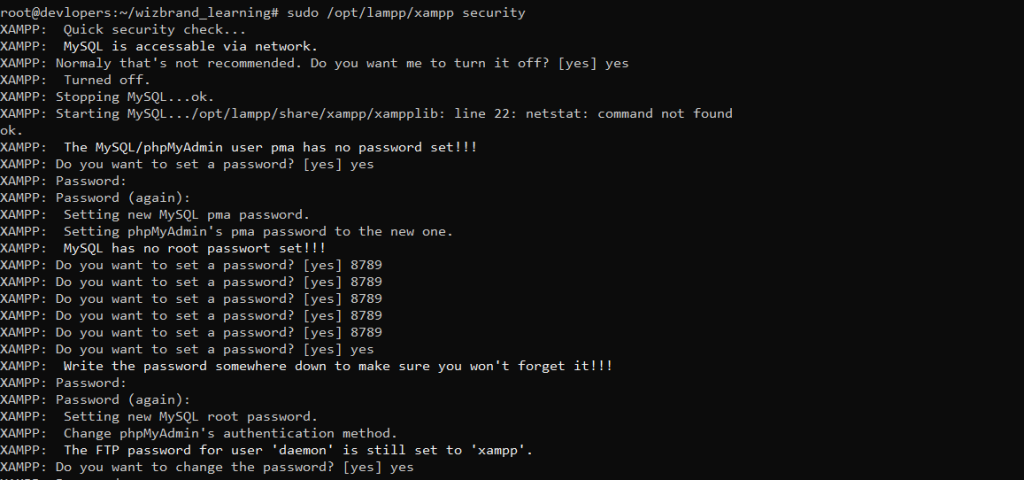
7. Lets set password for access the phpmyadmin
sudo /opt/lampp/xampp security
8. Restart XAMPP:
sudo /opt/lampp/lampp restart9. Let’s access phpmyadmin again and see if it is asking for the password:
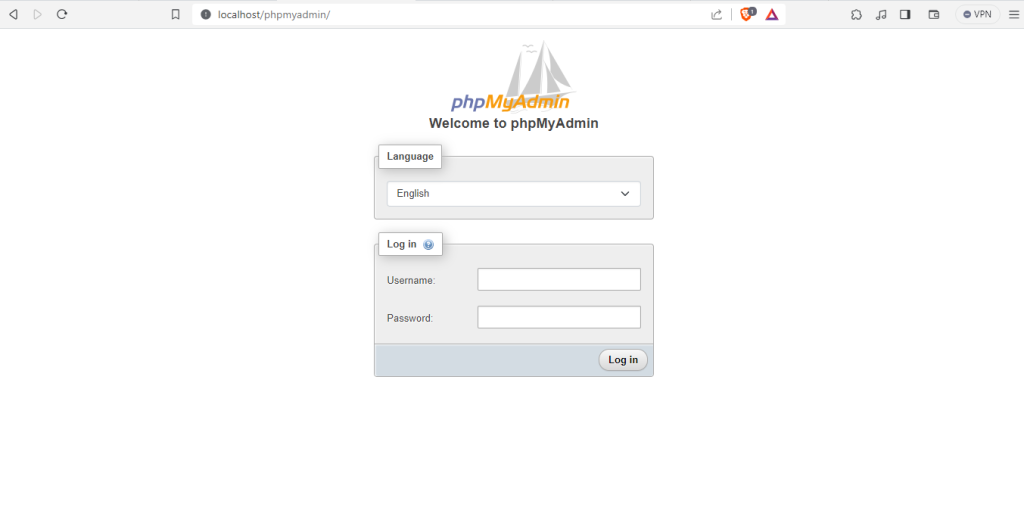
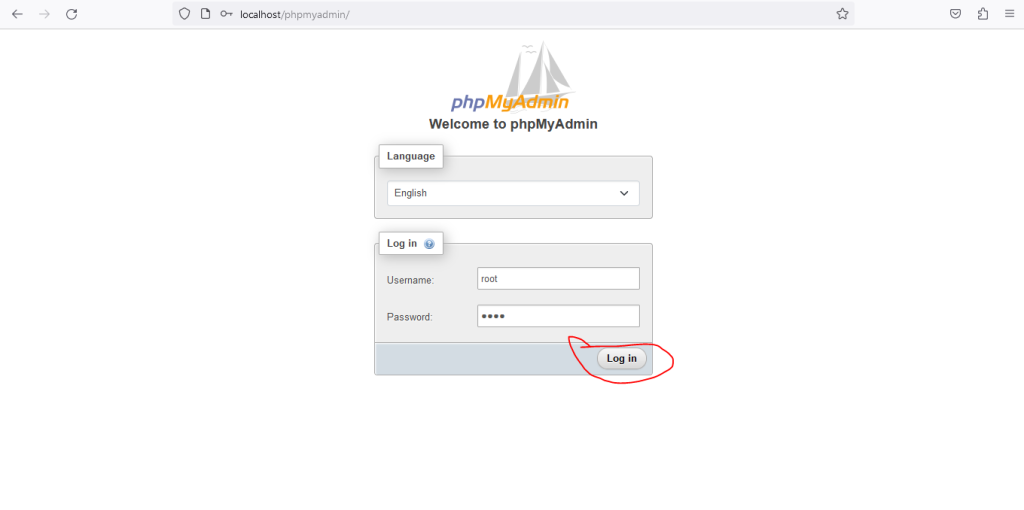
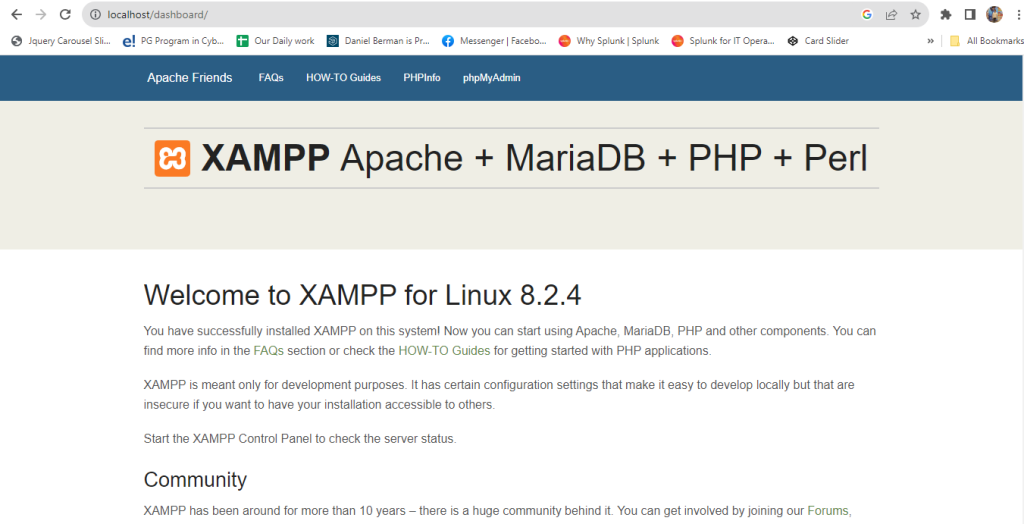
Now access the phpmyadmin
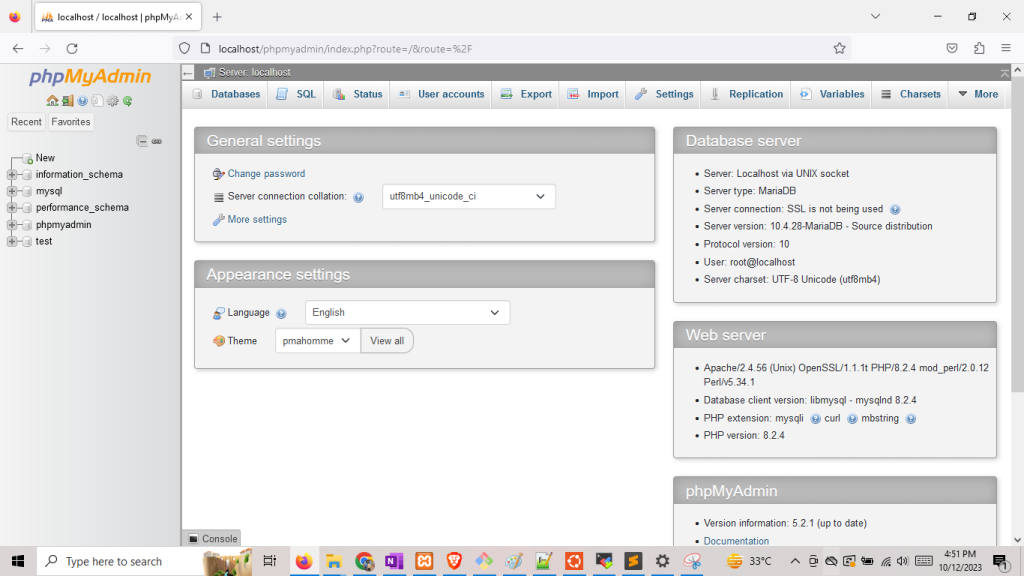
I hope this installation process is helpfull for you 👍👍
yfz